Rose Plant|Beginners Gardening Project

Planting roses is a fun and enjoyable way to add beauty to your garden. While planting roses may seem intimidating for the beginning gardener, in fact, the process is very easy. Below you will find instructions on how to plant a rose bush.

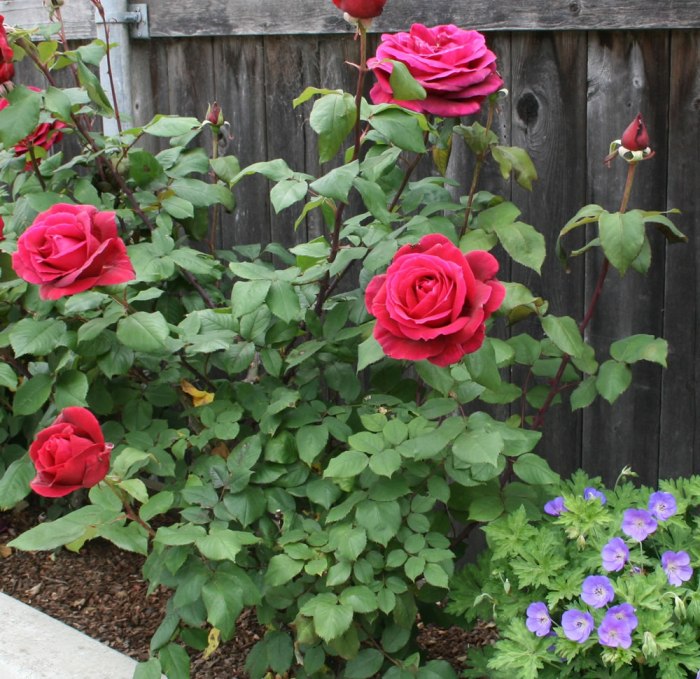
Rosa-Mister-Lincoln

Steps for Planting Roses

Start by digging a hole for planting the rose in. See if the depth is right for your area. By this I mean that in my area I need to plant the actual graft of the rose bush at least 2 inches below what will be my finished grade line to help with winter protection. In your area, you may not need to do that. In areas that get cold winters, plant the rose bush deeper to protect it against the cold. In warmer areas, plant the graft at the soil level.

The grafted area usually is easily seen and looks like a knot or bump out just above the root system start and up onto the rose bush trunk. Some rose bushes are own root and will not have a graft at all, as they are grown on their very own roots. The grafted roses are rose bushes where a hardier root stock is grafted onto a rose bush that might not be so hardy if left on its own root system.

Okay, now that we have placed the rose bush in the planting hole, we can see if the hole is deep enough, too deep or too shallow. We can also see if the hole is big enough in diameter so as not to have to bunch the roots all up just to get it in the hole. If too deep, add some of the soil from the wheelbarrow and pack lightly into the bottom of the planting hole. Once we have things just right, we will form a little mound in the center of the planting hole using some of the soil from the wheelbarrow.

I put 1/3 cup of super phosphate or bone meal in with the soil in the bottom of the planting holes for the big rose bushes and ¼ cup in the holes for the miniature rose bushes. This gives their root systems some great nourishment to help them get well established.

As we place the rose bush into its planting hole, we drape the roots carefully over the mound. Slowly add soils from the wheelbarrow to the planting hole while supporting the rose bush with one hand. Tamp the soil lightly, as the planting hole is filled to support the rose bush.

At about the half full mark of the planting hole, I like to add 1/3 cup of Epsom Salts sprinkled all around the rose bush, working it lightly into the soil. Now we can fill the planting hole the rest of the way up, tamping it lightly as we go ending up by mounding the soil up onto the bush about 4 inches.

imageload_11__3

Tips for Care After Planting Rose Bushes

I take some of the amended soil and make a ring around each rose bush to act a bit like a bowl to help catch the rainwater or water from other watering sources for the new rose bush. Inspect the canes of the new rose bush and prune back any damage thereto. Pruning off an inch or two of the canes will help send a message to the rose bush that it is time for it to think about getting to growing.

Keep an eye on the soil moisture for the next several weeks — not keeping them too wet but moist. I use a moisture meter for this so as not to over water them. I sink the probe of the moisture meter down as far as it will go in three areas around the rose bush to make sure I get an accurate reading. These readings tell me if more watering is in order or not.
Cactus In A Glass Container|Beginners Gardening Project

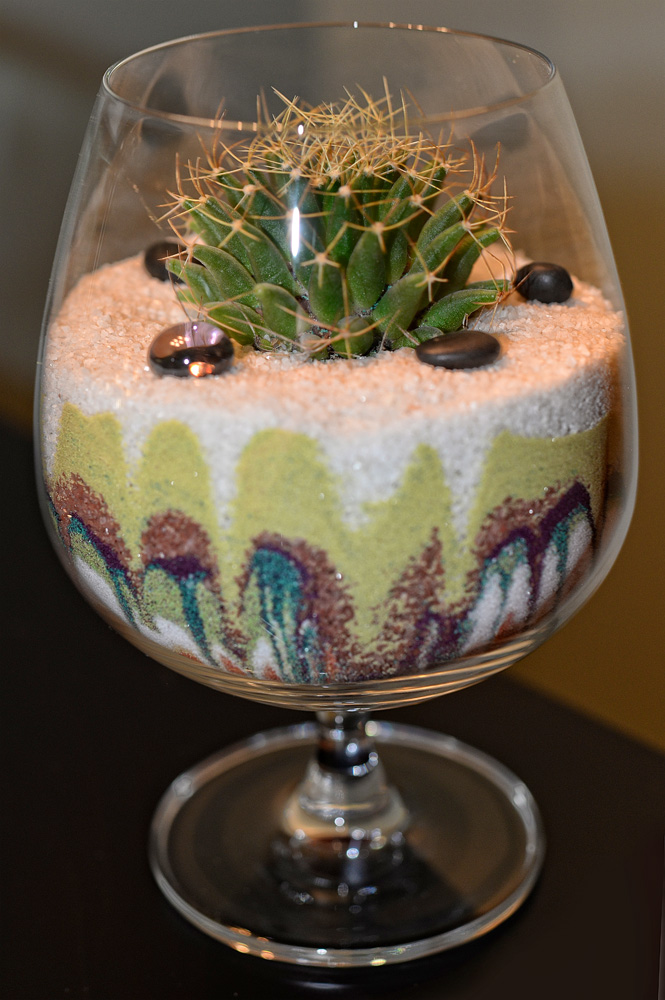
Classic terrariums consist of glass containers with lids that create an enclosed mini ecosystem. Cacti look great in these types of terrariums, but they don’t survive very long, because cacti need regular airflow and low humidity to thrive. However, that doesn’t mean you can’t create a cactus terrarium. A open or dish terrarium isn’t closed off with a lid, solving the airflow and humidity problems and allowing you to display your cactus in a wide variety of containers.

Cactus2

Things You Will Need

  • Container
  • Gravel
  • Charcoal
  • Potting soil
  • Sharp builder’s sand
  • Gloves

Steps:

1. Choose a clear container that either has low sides or is wide enough to allow plenty of air to flow between the plants. Make sure the container allows for a few inches of space between the cacti and the inside wall of the container, both for airflow and to prevent damage to the easily-injured plants.

2.Fill the bottom 2 to 3 inches of the container with gravel to create a drainage system beneath your soil.No Matches Found. Please try your search again.

3. Cover the gravel with a half-inch layer of aquarium charcoal to help filter runoff water and manage odors.

4. Create a cactus-appropriate soil mix by combining 1 part sharp or coarse builder’s sand with 2 parts potting mix. Add this mix to your terrarium.

5. Put on gardening gloves to protect your hands and plant your cacti in the terrarium. Leave a few inches between each plant and in between the plant and the sides of the container.

6. Place in a sunny location for one week before watering to allow the roots to harden and callous.

7. Water until the soil is moist but not soaking wet. Water again when the soil has dried out. Avoid over watering to prevent root rot.

Basic Tips On Gardening

Sowing and planting

Fruit

  • Plant out alpine strawberry seedlings sown in early spring.
  • Sow outdoor melons in a heated propagator.

Vegetables

  • Sow French beans, runner beans, squash, cucumbers and pumpkin seeds directly into prepared beds outside. Be alert to late frosts (for which a covering of horticultural fleece should provide sufficient protection).
  • Sow sweet corn outside in blocks, at least 45cm (18in) spacing, with two seeds per hole. The strongest seedling can be selected later.
  • Sow cauliflowers and purple sprouting broccoli for harvesting next winter.
  • Try sowing some unusual vegetables such as kohl rabi (like a large white above-ground turnip), scorzonera and salsify.
  • Witloof chicory can be sown this month, to have some ready for forcing next winter. Sow in drills directly outside.
  • After all risk of frost has passed, plant out tomatoes, courgettes and pumpkins that were previously sown under cover.
  • Other young plants can be planted out once conditions are suitable, and once they’ve been hardened off (acclimatised to the colder outdoor conditions) for 10 to 14 days.
  • Brussels sprouts for next winter should now be ready for transplanting after early or mid-spring sowing.
  • Plant out artichokes that were previously sown under cover.
  • Self-blanching celery can also be planted out towards the end of the month.
  • Ridge cucumbers can be sown indoors now, for planting out in early June.

Pruning and training

Fruit

  • Remove wayward shoots on fan-trained trees and tie in better placed ones.
  • Thin out crowded raspberry shoots.
  • Thin gooseberries if you want large fruit.
  • Tie in leading and sideshoots of kiwifruit.

Problems

  • Keep an eye out for asparagus beetles, and pick them off by hand.
  • Watch for the small holes flea beetles make on brassica seedlings. Water plants well to help them continue growing despite the pest damage.
  • Protect carrots with insect-proof mesh to prevent carrot root fly.
  • Slugs pose a threat, and slug controls are necessary now, as always.
  • Protect brassicas and peas from pigeons.
  • Pick yellowing leaves off brassicas promptly, to prevent spread of grey mould and brassica downy mildew.
  • Deal with apple sawfly and capsid bug and prevent blossom wilt if it struck last year.
  • Put up codling moth traps in apple trees.
  • Look out for spur blight, cane spot and cane blight on raspberries, blackberries and hybrid berries.
  • Put bird protection in place for all soft fruit.
  • Deal with raspberry leaf and bud mite and raspberry rust from now on.
  • Keep on top of weed control and continue through to summer.

General care

Fruit

  • Pull off suckers appearing around the base of fruit trees.
  • Liquid feed fruit trees growing in pots with a balanced feed every fortnight.
  • Deblossom strawberry runners planted since September.
  • Water blueberries, cranberries and lingonberries when needed with rainwater, but use tap water when butts are empty.
  • Take softwood cuttings of kiwifruit.
  • Remove any winter protection from figs and carry out pruning.
  • Move growing-bags into the greenhouse to warm up two weeks before planting indoor melons, and water well two days before planting.
  • Gently run your hand over indoor grape vine flowers to pollinate them.
  • Make sure fruit isn’t drought stressed, especially those in containers, against a wall or newly planted.
  • Make sure bees can access caged and cloched fruit flowers to ensure pollination.
  • Keep a check on late frost forecasts and protect blossom as necessary.


Vegetables

  • Earth up potatoes when the shoots are 23cm (9in) high, in order to prevent the new tubers going green. Earthing-up is the drawing up of soil around the stems of the plants, leaving just 5cm (2in) of shoot uncovered so that the plant has enough foliage to continue growing.
  • Start to remove sideshoots from cordon tomatoes as you see them. The sideshoots develop in the leaf axils (i.e. between the stem and leaf), and if allowed to develop will sap the energy of the plant and reduce the quality of the yield.
  • Strings stretched along the tops of broad bean plants can support them, and prevent them flopping once pods develop.
  • Peas need staking with pea sticks, netting, or pruned twigs from the garden.

Indoor plants

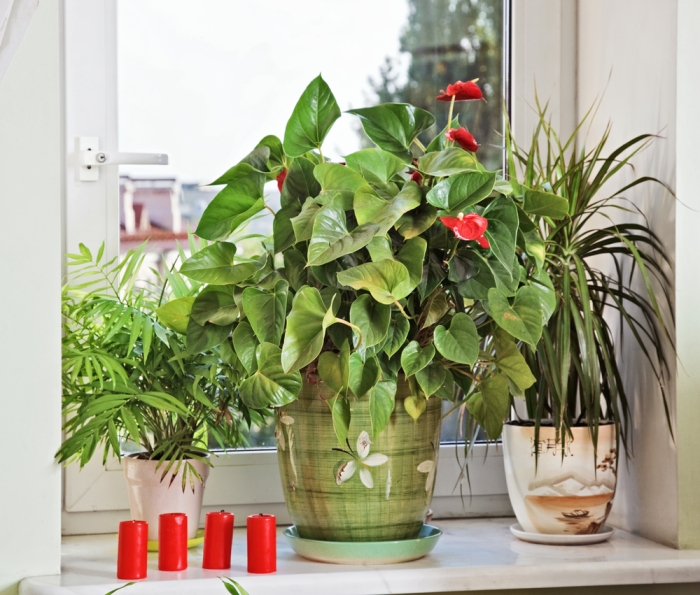
Living in an apartment or a small space can make it interesting for those who want to do some gardening with indoor flowering plants. Chances are you don’t have a lot of space to work with, so larger plants are out, and a limited amount of natural light isn’t the most favorable of environments for growing plants.

Five-Easy-Flowers-to-Grow-in-Small-Spaces

Fortunately, you can still reap the benefits of gardening by choosing flowers that are perfect for small spaces. When looking for flowers to grow in your apartment, it’s important to keep in mind plants that are somewhat hardy, don’t require much sunlight and are relatively easy to take care of. Here’s our list of the easiest flowers to grow in your apartment.

Peace lily

The peace lily is one of the best flowers to grow in an apartment because it survives surprisingly well with low levels of light, giving it the nickname “Closet Plant.” In fact, direct sunlight damages the peace lily’s foliage, so keep this plant within five to eight feet of a window for best results. The peace lily does require heavy watering, but the good thing is that you’ll know the plant is thirsty when the leaves begin to droop.

African violet

A common house plant that is gorgeous to look out, the African violet doesn’t require a lot of attention to keep it healthy. This plant is specifically grown indoors and only needs a bit of sunlight a day, so put this plant in a window that looks out to the east, if possible, so the flower can get its necessary sunlight during the morning. Keep the soil moist, but do not overwater, as this will cause the flower to rot. Make sure to avoid getting the leaves wet, as water drops can cause dead spots on African violets. The plant thrives in climate-controlled areas, so keep your apartment at a reasonable temperature for best results.

Marigold

Known for their orange and yellow colors, marigolds can really brighten up a space and be a great addition as an indoor flower, as they grow quickly and easily. And as they’re traditionally an outdoor flower, marigolds are relatively hardy, meaning that they require minimal care. Place marigolds in a window that will receive a lot of sunlight. And for a touch of summer in the cold of winter, marigolds will bloom year-round with the proper care.

Begonia

Another plant traditionally considered to be an outdoor flower, the begonia also has what it takes to be a great indoor flower, including being tough, low maintenance and free flowering. Indoor begonias tend to prefer cooler temperatures, so make sure your apartment doesn’t get too hot. And place the begonias near a sunny window to boost growing. Allow the surface of the soil to dry out between watering, so you can go a few days in between watering.

Cactus

You may not think of a cactus as a flower, but most varieties of cacti are flowering, producing blooms that are extraordinarily beautiful. Pot the cactus in an unglazed clay pot that can be drained easily through a hole on the bottom. Water the cactus about once a week, and place in a well-lit area, such as a bay window or a bright entryway.